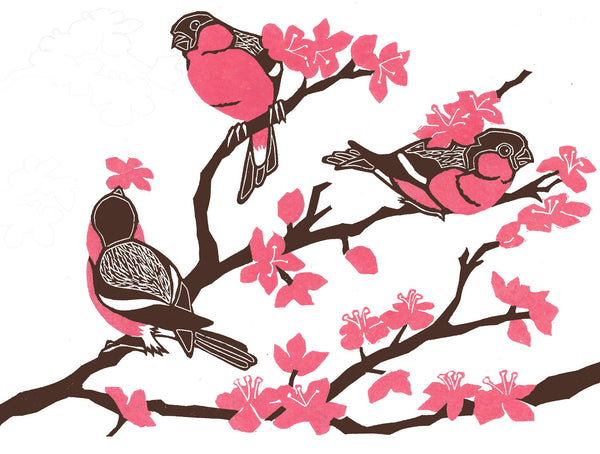
As with all my linocuts, it started with a drawing, which I scanned in to Photoshop. I knew that I wanted it to be a two colour linocut, so I thought about my pink and black areas carefully. I also knew that I wanted it to be transformed into a wallpaper and fabric to make for sale in my Spoonflower shop, to I planned it out as a repeat design.
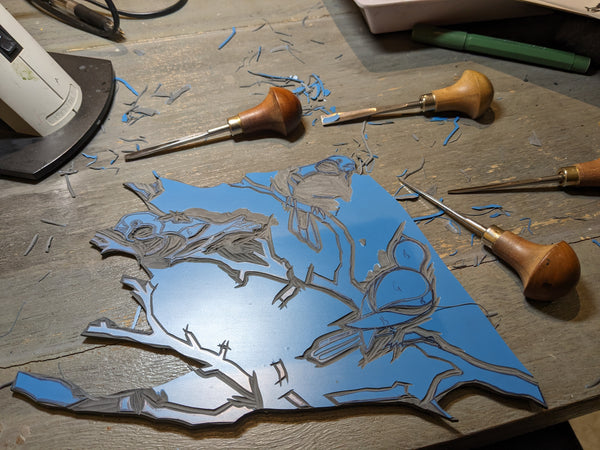
I started with cutting out the black linocut. As this contains all the key details - the birds faces and structure of their bodies, and of course the branches - this was the most important block to get right. Once this was cut out, I could draw out and finalise the pink sections. If you want more in depth instructions of how to do a two colour linocut, you can check out my blog post here.

You can see the final black section here. Once I've cut out the shapes with my tools, I need to trim it with a craft knife. Then I stick it onto a piece of mountboard which has been cut with a precise right angle on the bottom left hand side to allow for accurate registration. I take a print and then use that print to determine the shape of the pink pieces of lino. I stick these pink pieces of lino onto mount board as well.
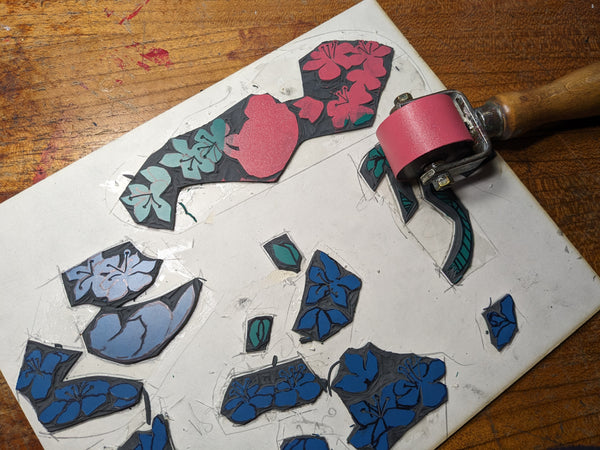
You can see here that I print up these small pink sections with a small roller. I find this efficient, plus it minimises the potential transfer of ink onto the mountboard, which could then find its way onto the blank paper you are printing on. This is definitely a risk if you are printing onto dampened paper as I do.

You can see here the first draft print of the pink part of this two colour linocut. When I was a member of the Dundee Contemporary Arts Centre, I was taught to always print the lighter areas first. This makes sense, as of course, the black ink will hide any potential areas of overlap.
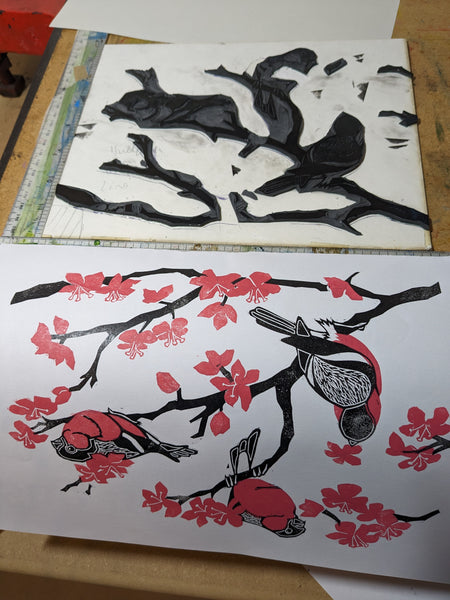
Without un-taping the piece of paper, I swapped the pink linocut for the black linocut block. I placed the piece of paper onto the black linocut block and passed it through the press again. Before going on to do a series of prints, I worked out any issues - for example, it was apparent I needed to use dampened paper in order to get a good print from the larger areas of black linocut, such as the birds head - and I also had to dial down the strength of the pink ink, it was too bold and jarring to begin with.